List your storage areas
List the places you keep wine: racks, wine fridges, cases and storage accounts. Give merchant-held wine its own location so you can distinguish it from bottles at home.
Try your location names on one shelf before labelling the rest. Keep the labels visible.
Use a consistent location pattern
For example: Home cellar / Rack A / Row 2, Kitchen fridge / Top shelf or Home cellar / Case 04. Label each location and use the same wording in the record.
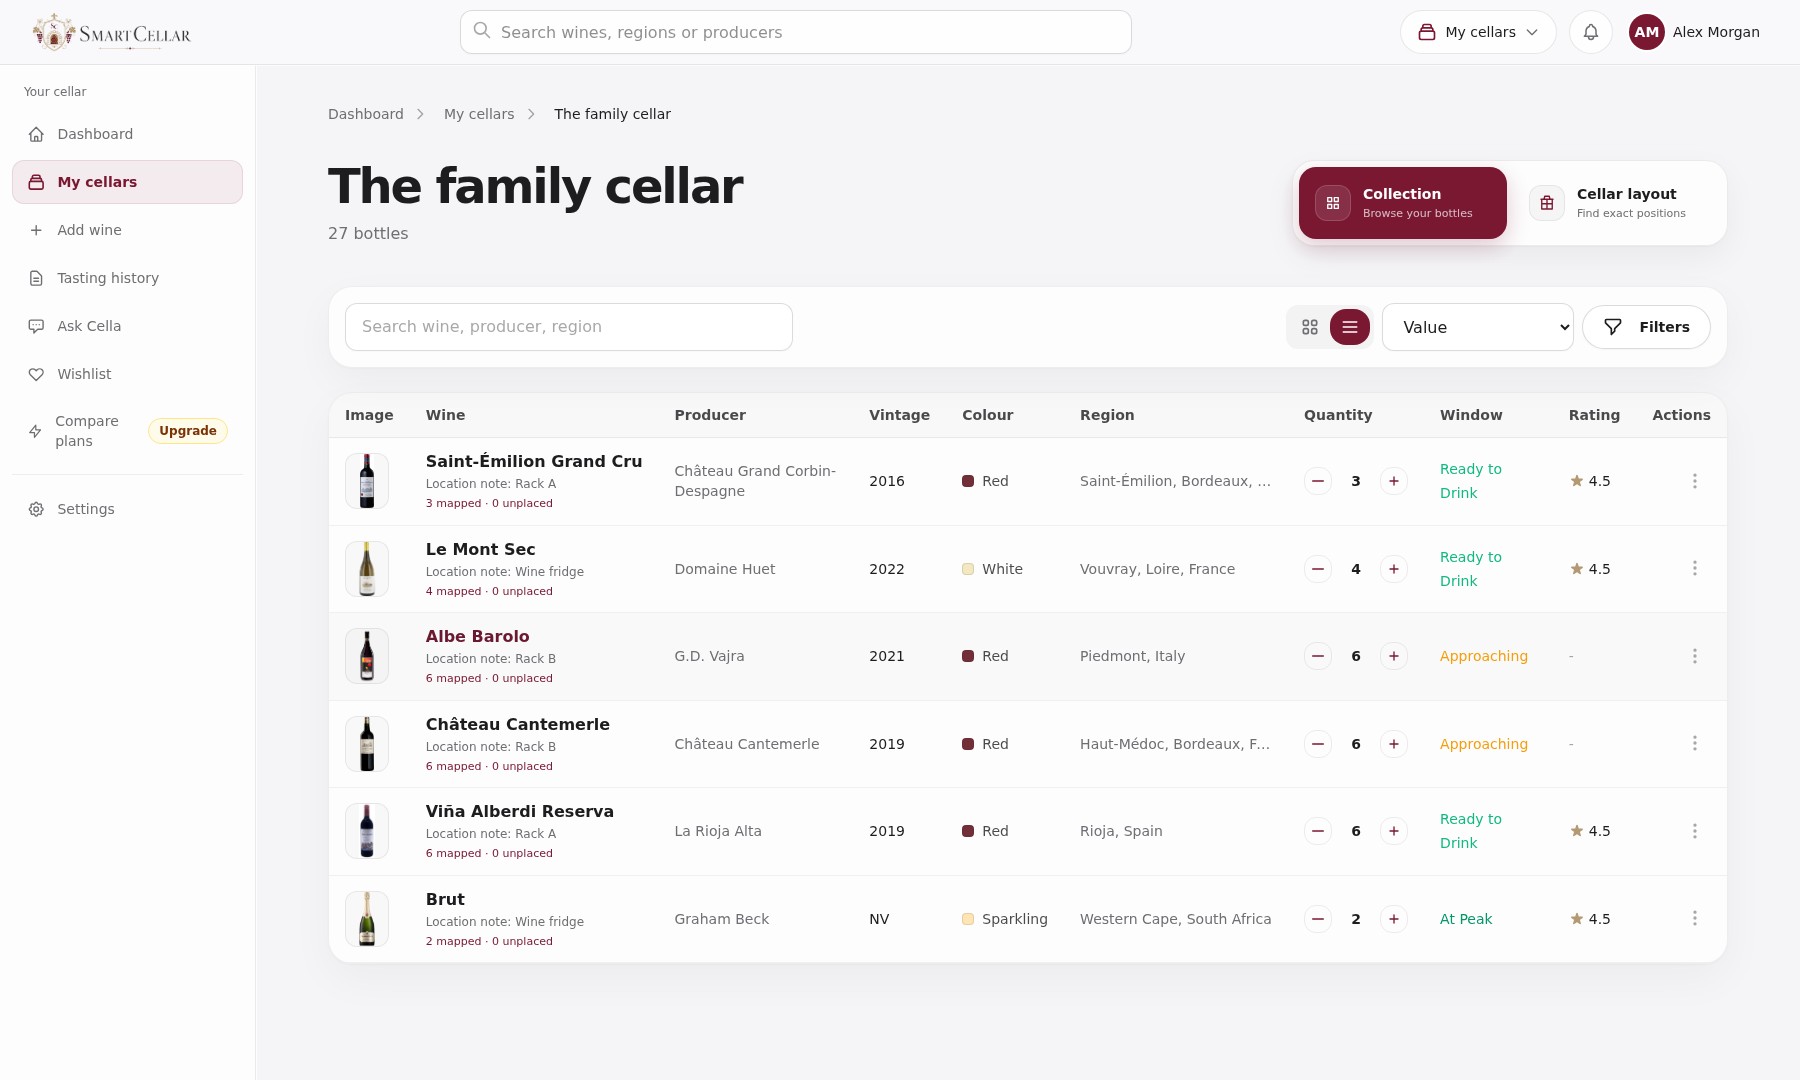
Decide whether rows count from the top or bottom, and write that rule down. In SmartCellar, open the cellar → Cellar layout → Add first unit to create a rack or fridge, then select an unplaced bottle and an empty position. For shelf-level records, open the wine → Edit details → Location note and Save changes.
Record each wine and location
Record producer, wine and vintage together. Two vintages of the same wine are different records. Count bottles, not cases, unless a field explicitly asks for cases. Check the bottle size if you keep halves or magnums.
If you have six bottles of one wine in the same cellar, with four in a rack and two in the fridge, set Quantity to 6. Record “Rack A: 4; fridge: 2” in Location note, or place four and two bottles in the corresponding map units. Do not add six bottles again for the second location.
Update deliveries, moves and openings
When a bottle arrives, add it and its location. When it moves, update the location without increasing the collection total. When you open it, use Record opened bottle and check the remaining quantity; the saved opening reduces the count. A tasting note can help you decide when to open the next bottle.
If you discover a mismatch during a stocktake, count again before changing the record. Check nearby shelves, recent deliveries and opened bottles. Correct the count only after resolving what you can, and leave a note explaining any uncertainty.
- Count one shelf from left to right.
- Match each wine and vintage to its record.
- Check bottles stored elsewhere before changing totals.
- Save the correction and physically find one bottle using only the record.
Follow the SmartCellar steps
For a new collection, add a few wines and check their locations before entering the rest. Use these guides for the exact controls, including what to do when a quantity change asks you to select mapped bottles.
Create a cellar and add your first bottles →Set up and use a cellar layout →Correct quantities and location notes →
Checking your inventory
Review a section when you receive a delivery or choose wine for the weekend. A short check of the shelf you already use is easier to maintain than a full annual recount. Keep a backup export after a major stocktake.
After a stocktake, find a bottle using its recorded location to check that the names are clear.